The process for creating a Virtual Machine is very simple within Curiosity Cloud. To do this, we will follow the following steps:
1. Log in to Customer Tenat: URL: https://console.curiositycloud.com
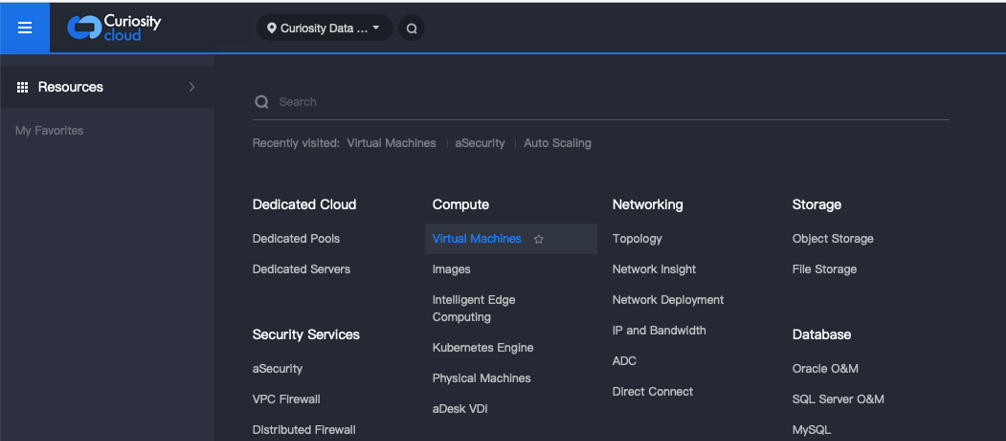
2. We will enter the main menu and we will not go to the Computing Virtual Machines section.
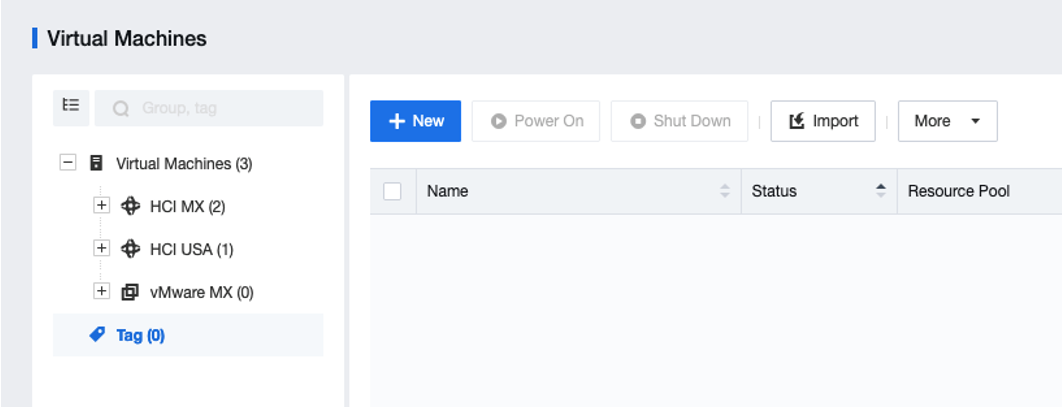
3. Here we will click on the + New button to create a new Virtual Machine, which will take us to the Provisioning Wizard.
4. Within the Wizard it will give us Curiosity Cloud Computing Region selection options (If Applicable). We will select the Image / Operating System Template:
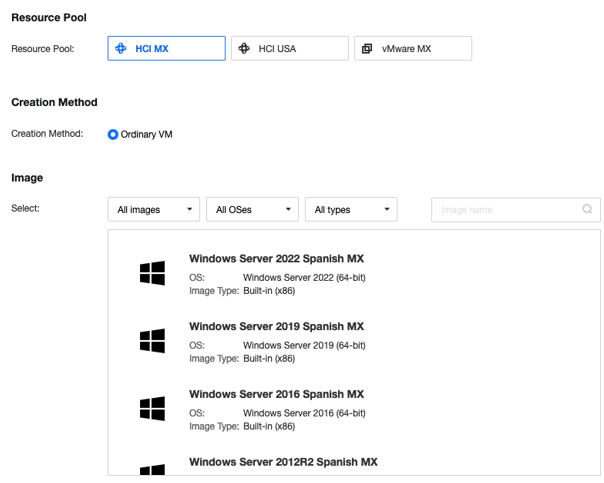
The catalog of Images and/or templates range from Windows Server to different Linux distributions, some of them are:
- Windows Server 2022 Español/Ingles
- Windows Server 2019 Español/Ingles
- Windows Server 2016 Español/Ingles
- Windows Server 2012R2 Español/Ingles
- SUSE Enterprise Linux 15 SP5
- CentOS 7
- CentOS 8 Stream
- CentOS 9 Stream
- Ubuntu Server 24.04
- Ubuntu Server 22.04
- Ubuntu Server 20.04
- Ubuntu Server 18.04
- Debian 12.5
- Fedora Server 40.1.14
- Red Hat Enterprise Linux 7.9
- Red Hat Enterprise Linux 8.9
- Red Hat Enterprise Linux 9.4
- Oracle Linux 7.9
- Oracle Linux 8.7
- Oracle Linux 9.4
5. Once the Image / Template is Selected we will have two display options:
a. Quick deployment: Use Quick Deployment to quickly create a virtual machine. This method creates virtual machines in a relatively short time, but some functions, such as editing disks, will no longer be available because the cloned virtual machine shares the base image with the virtual machine template.
b. Full Deployment: Make a copy of the selected image and then create a VM based on the copied image. This method creates virtual machines in a relatively long time, but the performance of the virtual machine will be stable after the creation is completed.

6. The creation wizard will ask us for the number of VMs to Deploy, it can be from one VM to 20. It will ask us for the amount of CPU and RAM Resources:
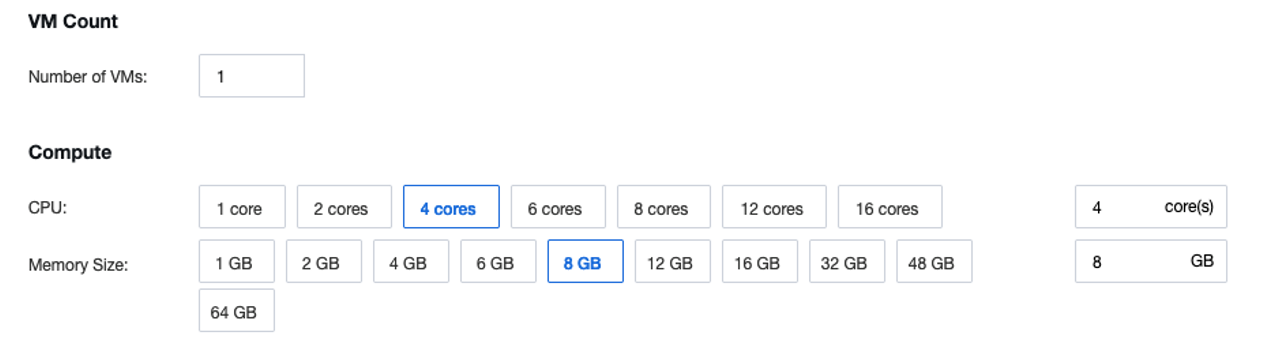
- If we want a greater amount of CPU and RAM Resources on the right side, they can be set manually:
Maximum CPU: 72 cores
Maximum RAM: 768GB
7. Later it will ask us for the type of disk and if we want to add additional disks:
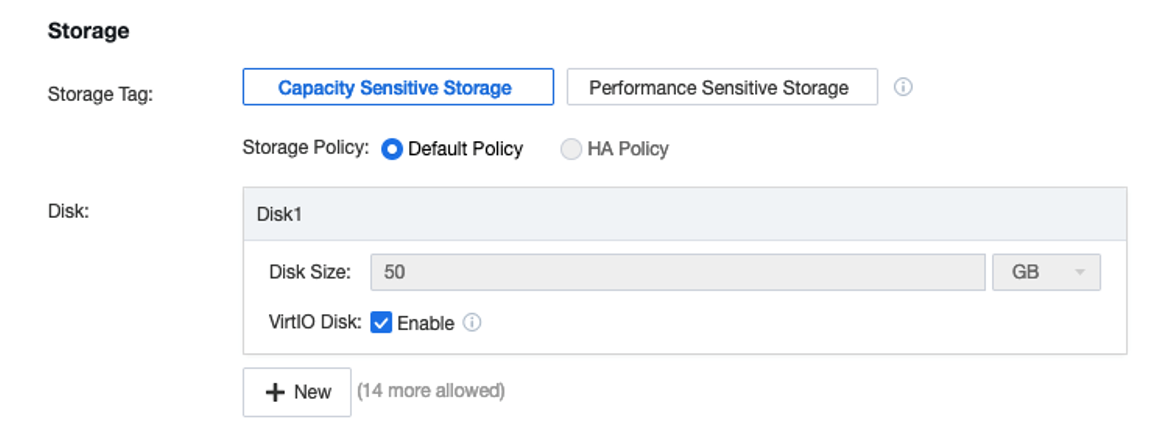
- Capacity Sensitive Storage: Storage Layer with SSD Cache and HDD Storage.
- Performance Sensitive Storage: SSD Storage Layer.
- High Performance Sensitive Storage: NVMe Storage Layer.
If we previously select Quick Deployment, the option to modify the Boot Volume will be the one established in the Image / Template
If Full Deployment is selected the Boot Volume Edit Options can be edited.
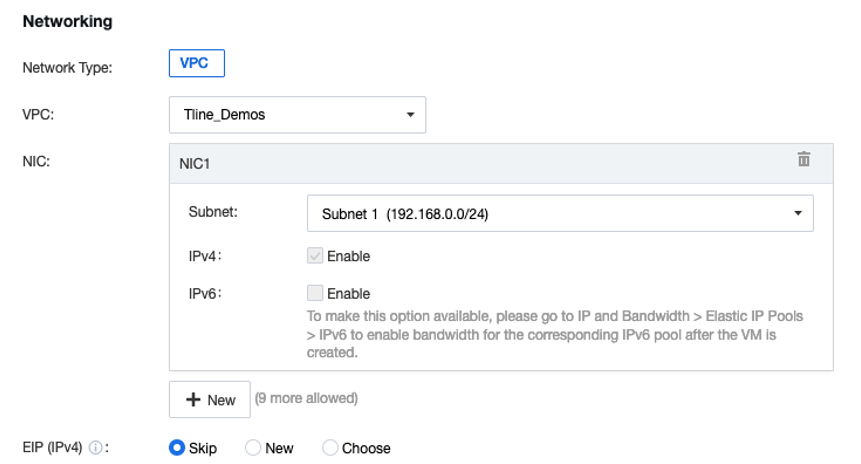
8. In the Networking section we can select the virtual network of our preference, a Virtual Network (VPC) with a 192.168.0.0/24 segmentation with a DHCP will automatically be deployed.
Elastic IPs (Public IPs) can also be assigned at the time of creating the VM, we can select an existing EIP or we can create a new one.
9. Finally, it will ask us for the name of the new VM, we can assign Tags, establish a Description and assign it to a group. We can use the Default password of the Images / templates (Curios1ty) or we can set the one we want and the same thing will happen with the Hostname, we can use the default or set the one we designate.
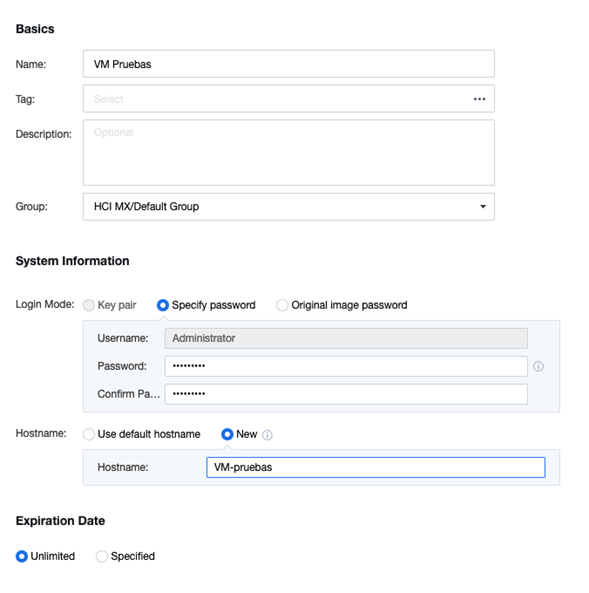
And finally we can establish a validity of the VM if it applies in case it is a Temporary VM.
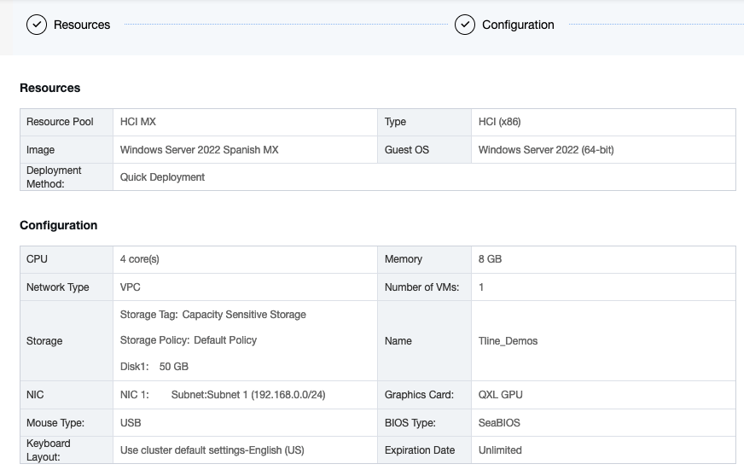
10. In the end it will only show us a summary of the VM to be created and we will finish the deployment.
11. At that moment the creation task will be executed and it will take a few seconds to create the VM and power it on.
